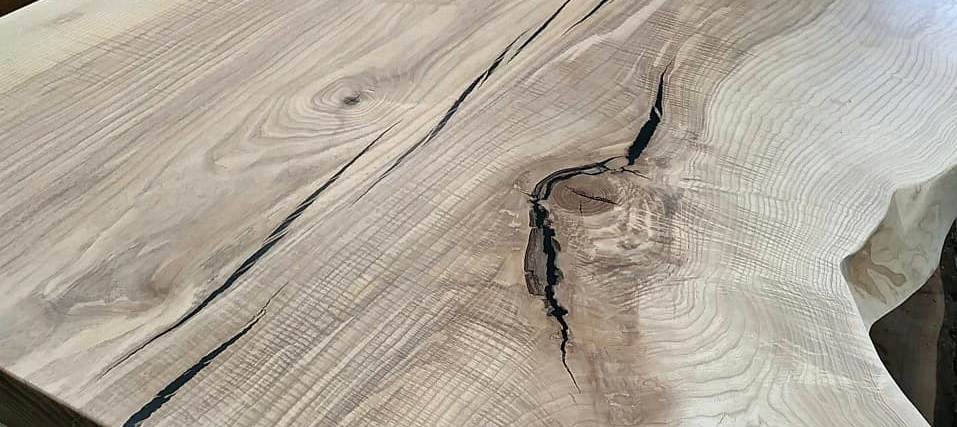
DIY – Live Edge Wood Tables!
So you want to build a table…
Here is a quick step-by-step guide to creating your own live edge table top. You can use the same instruction to create benches, consoles, coffee tables, charcuterie boards etc.
Step 1:
Visit us at the Old Schoolhouse Mill in Caledon and pick out your kiln dried live edge slab.
Step 2:
Plaining to your desired thickness is highly recommended as all of our slabs are rough sawn. We do offer planning services for an additional cost. We can plane up to 30 inches wide.
Step 3:
Cut your slabs to your desired dimensions. Examine the slab for any voids, cracks or defects and decide whether you would like to use epoxy or wood filler. For large voids, we recommend using Castin epoxy with a long set time *Tips on epoxy pours coming soon on the blog.
Step 4:
Once epoxy is set; it is sanding time! We recommend using a palm sander and sand both sides of the slab. Use 100grit, 120,150,180,220,320 (this is the standard). To increase gloss sand up to higher grit. For a more matte finish, sand to 220grit.
Step 4:
Now is the time to apply your finish. Follow the directions on the finish you will be using. Curing time differs depending on the finish you use. We highly recommend using Odie’s Oil finish which can be purchased directly from us. Check out our blog on Odie’s Oil for further information.
Step 5:
Once your finish is set, enjoy your piece! We love to see your projects. Tag us on Instagram @old_schoolhouse_mill or email pictures to mike@woodslabs.ca
lets talk live edge wood slabs
Feel free to call or text Mike at (416) 618-0081
